Hosting a Resume with Jekyll and GitHub Pages
Purpose
The goal of this README is to teach the key principles of Andrew Etter’s book by demonstrating how to host a markdown resume on GitHub Pages.
Prerequisites
- A resume formatted in markdown. Here is a sample resume
- A markdown editor. I will be using Visual Studio Code for this demonstration
- Jekyll. Follow Jekyll’s official installation guide to install Jekyll and its dependencies
- A GitHub account
- GitHub Desktop
Instructions
Step 1: Create your GitHub Pages repository
We will be following Andrew Etter’s key principle of using distributed version control by hosting all of our files on GitHub. This will allow us to maintain a local copy of all of our files while also making it really easy to constantly update and revise our content. Since our repository will be set to public, having our site hosted on a version control system will make it extremely easy for others to contribute
- Navigate to the repositories section of your GitHub profile
- Click on the green button labeled New to create a new repository
- Make sure you title your new repository yourgithubusername.github.io
- Make sure your repository is set to Public if you want to host your GitHub page for free
- Click create repository to create your new GitHub Pages repository
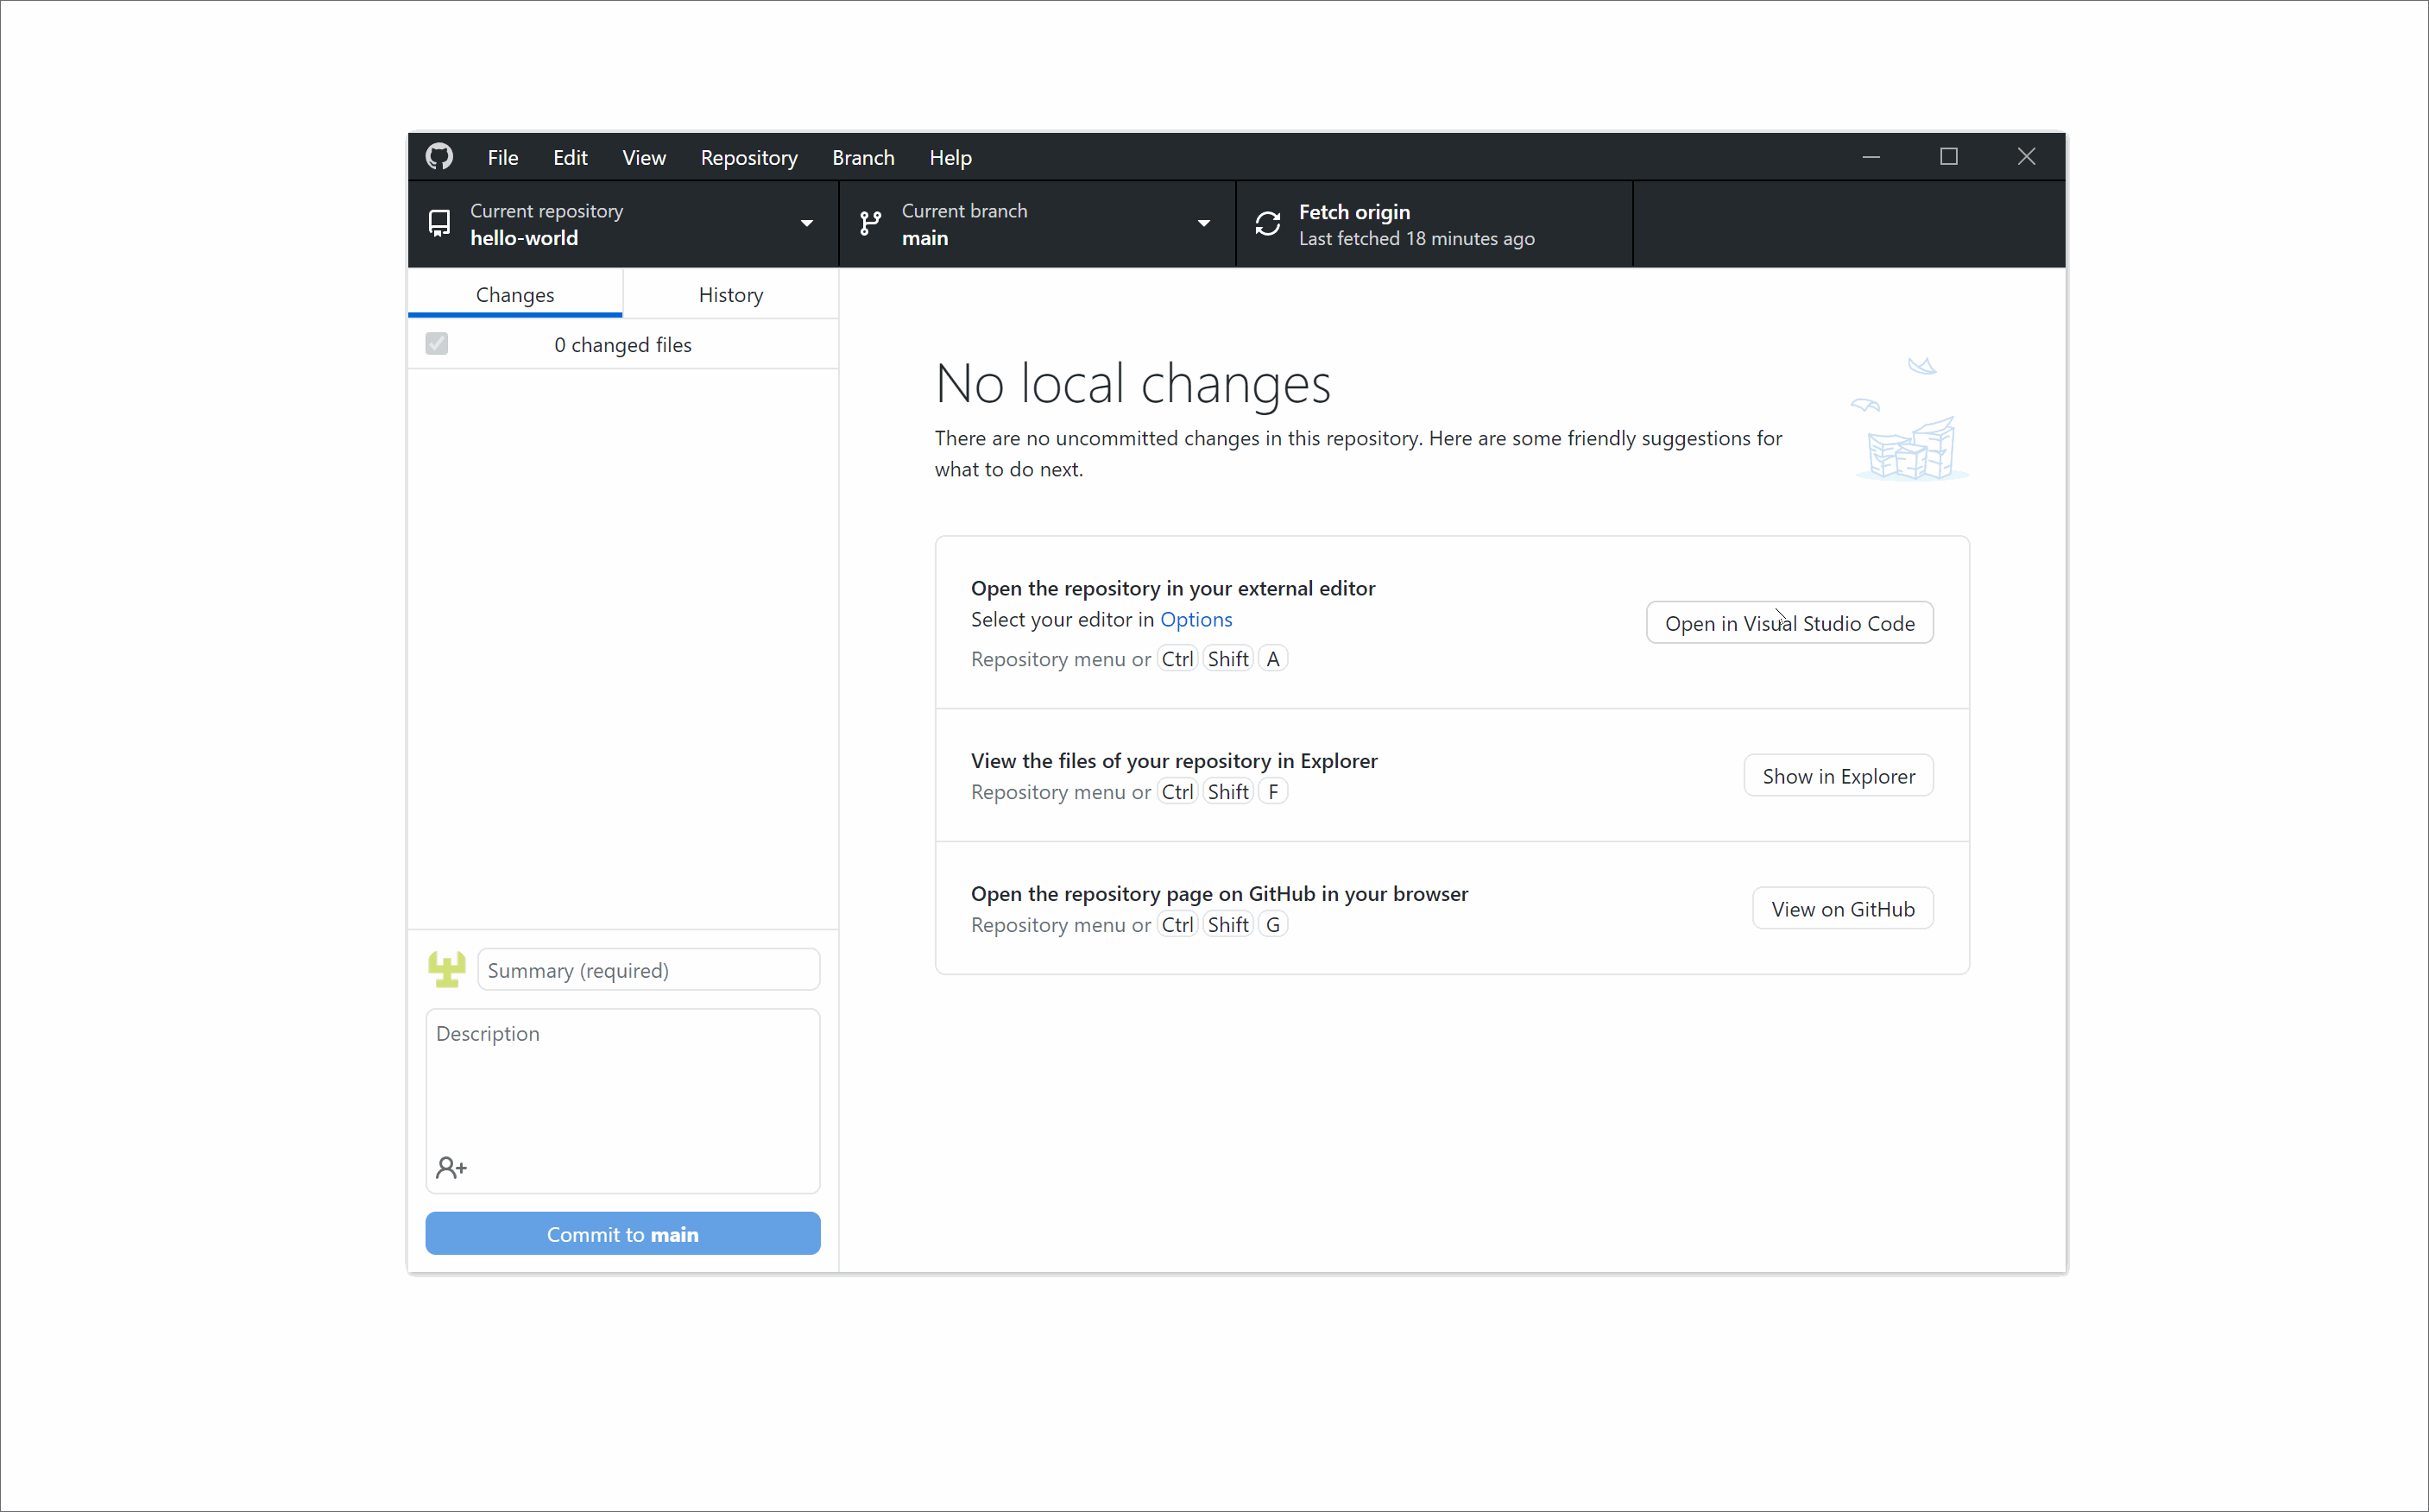
Step 2: Create and link a local copy of your GitHub Pages files
- Navigate to the repository for your GitHub page
- Click on the green Code button and select “Open with GitHub Desktop” from the drop down menu
Note: Once GitHub Desktop opens, a window will pop up with the GitHub URL, local path and a clone button. Feel free to change the local path to store the local copy of your site files somewhere else on your PC, however I recommend using the default path
- Click on the blue Clone button to create a local copy of your files
 Note: The Process is shown with an example Hello World repository
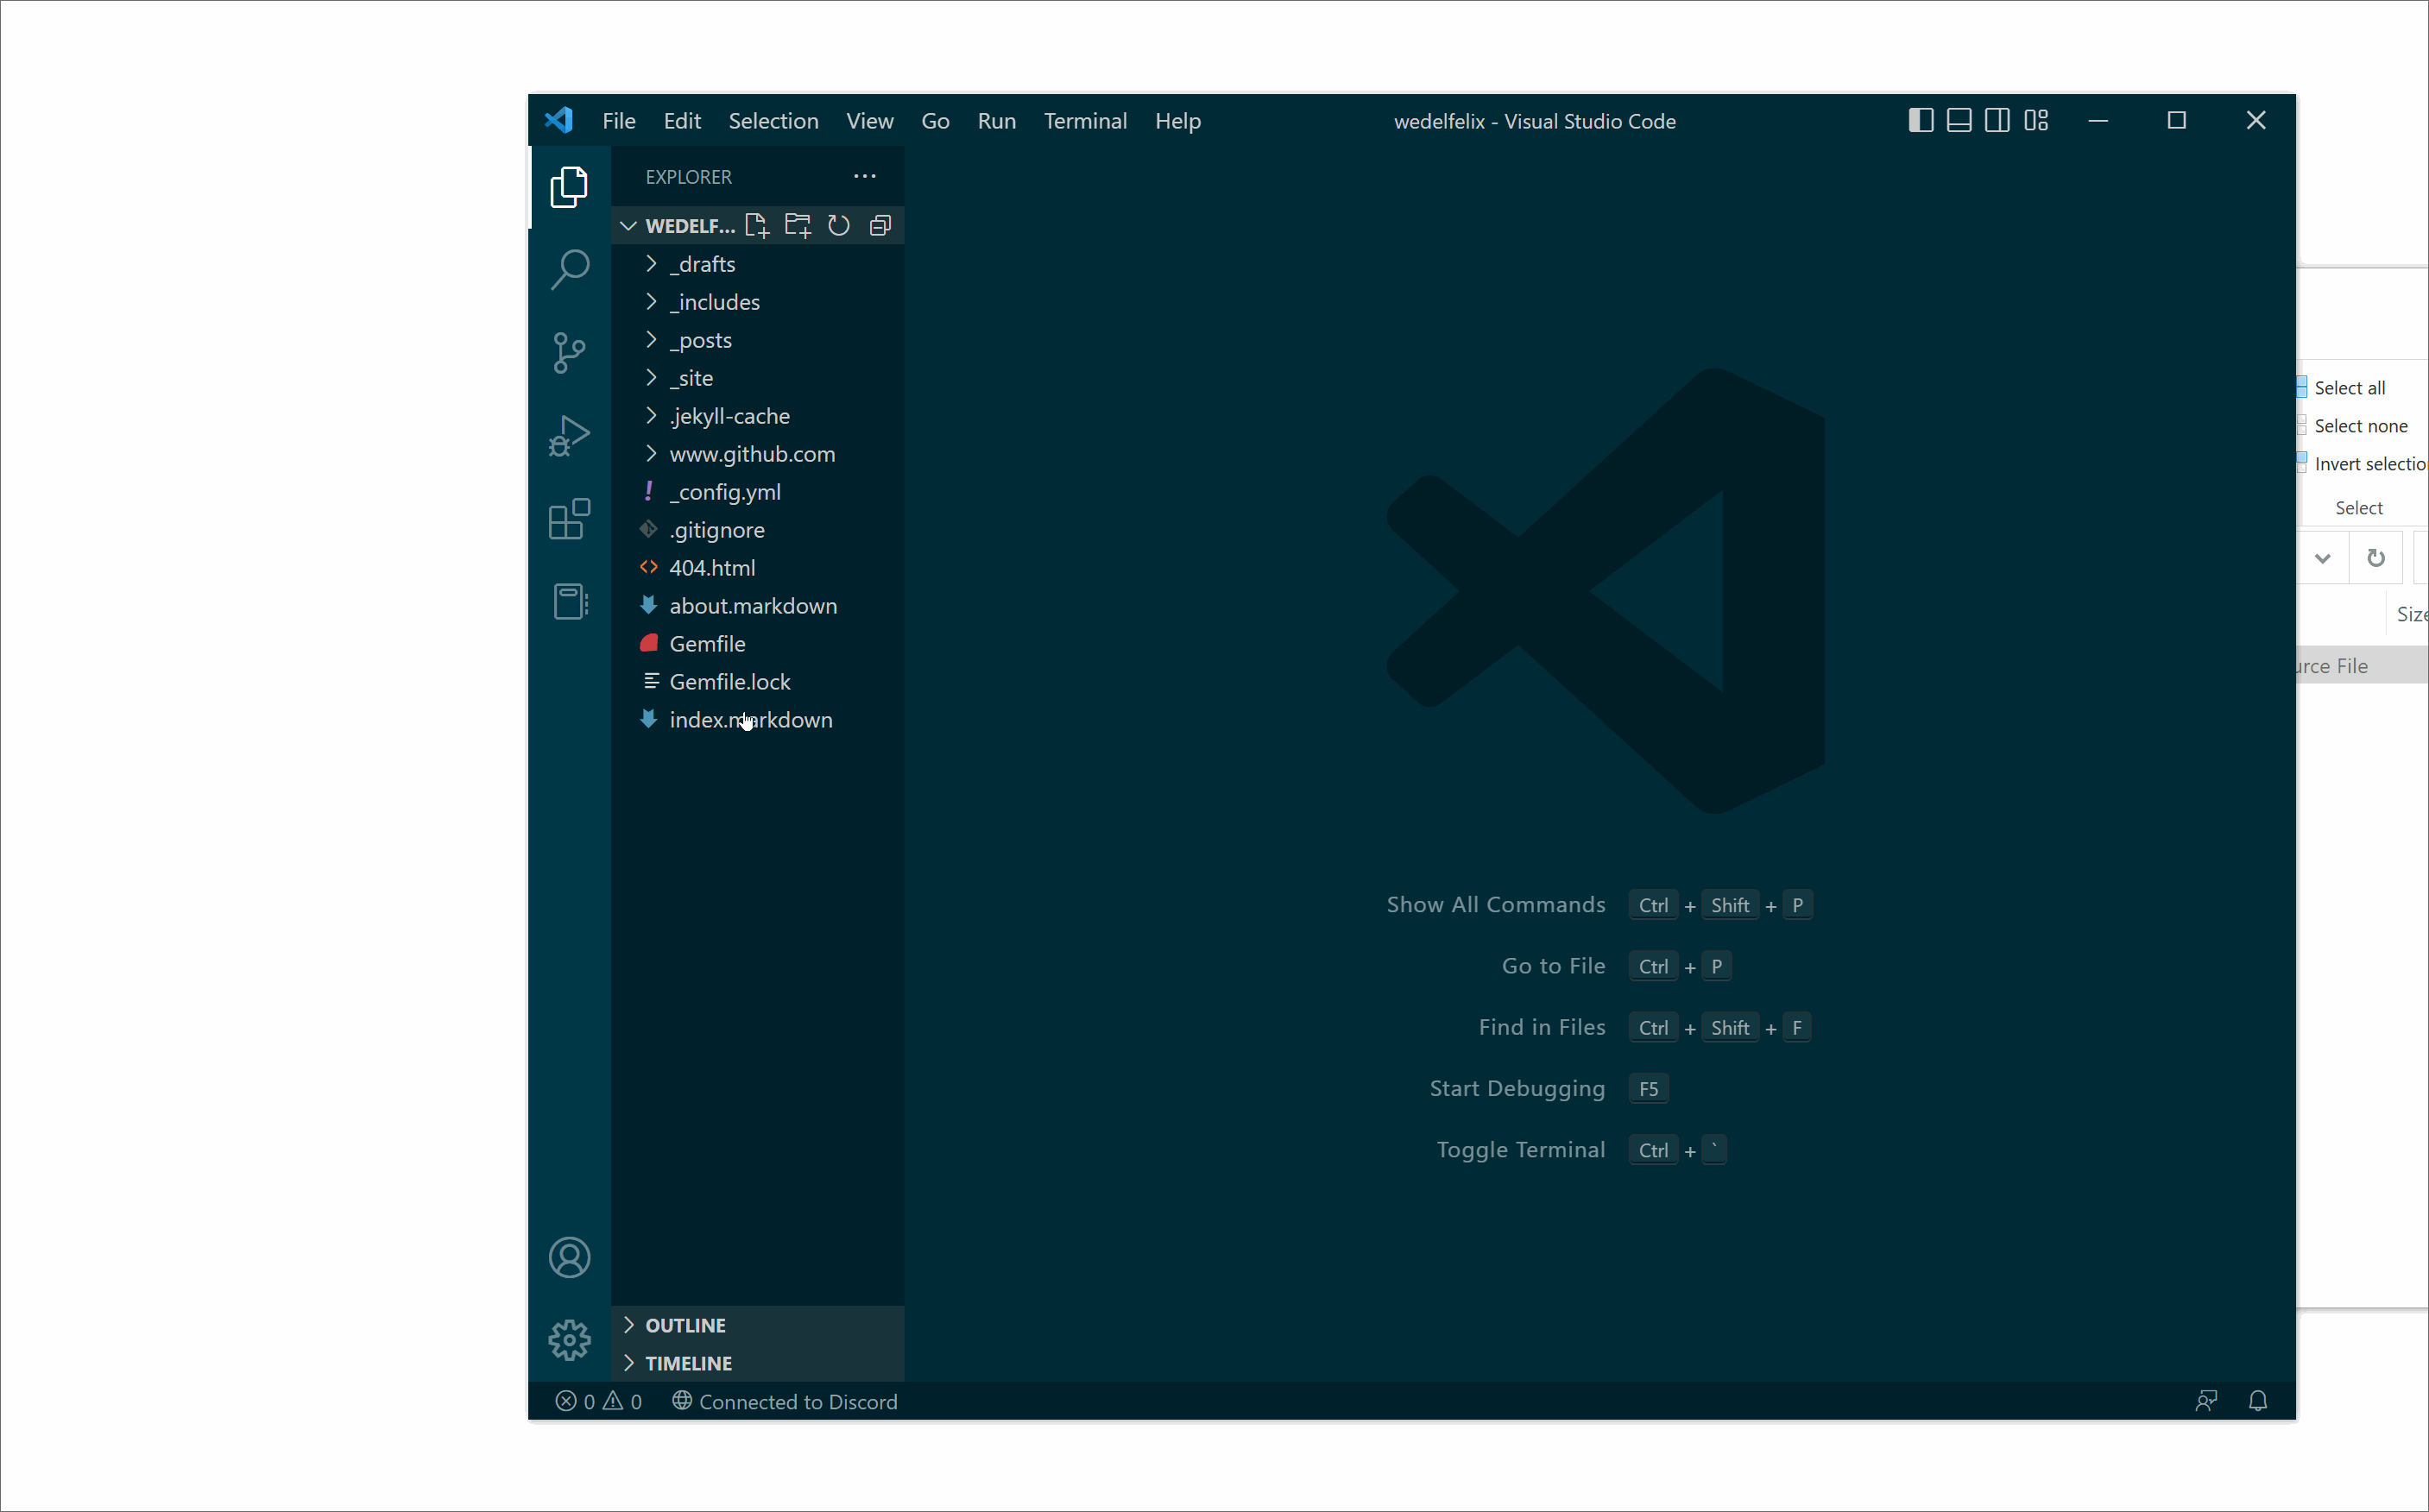
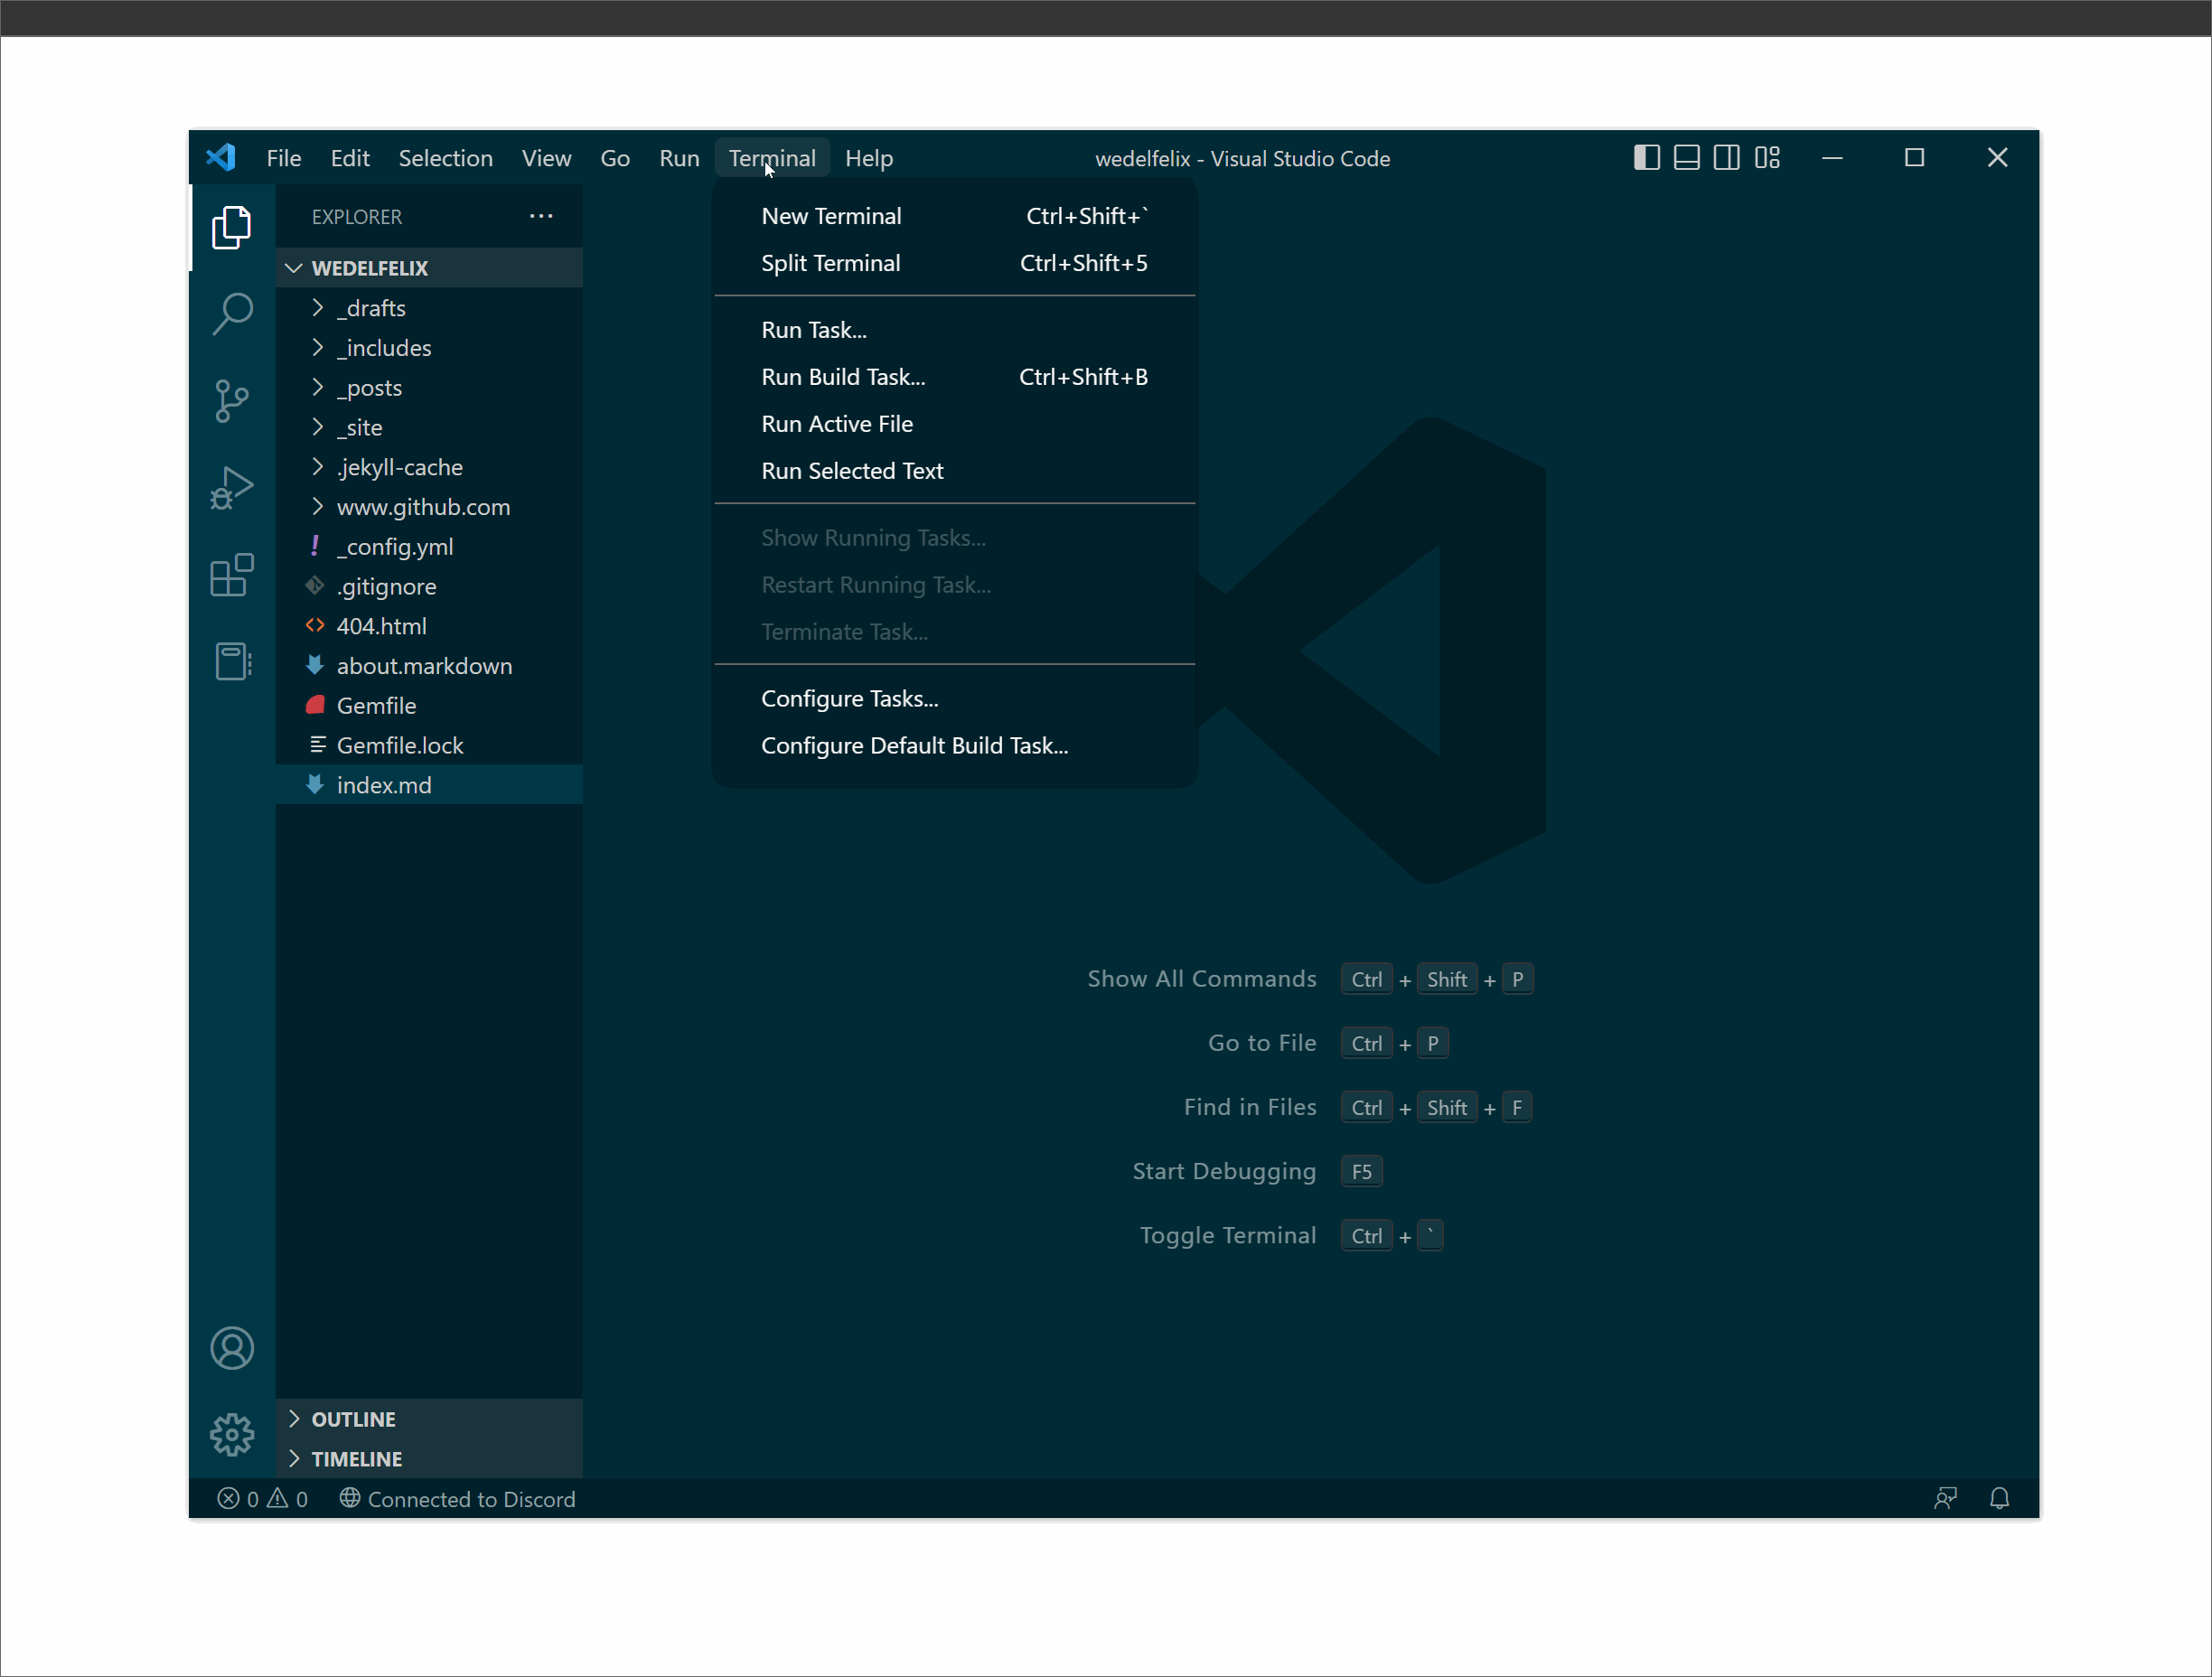
Step 3: creating a new Jekyll project
We will be following Andrew Etter’s key principle of making a static website by using the popular static website generator known as Jekyll. This will make it really simple to build and host our website for free on GitHub pages. Having your documents hosted as a static website also makes them easily accesible to others without the need to maintain multiple copies of your documents.
- Click on Open with visual studio code in the GitHub Desktop app
- Click on Terminal and select New Terminal from the top task bar of VS Code
- Make sure the file path displayed in the terminal is the same file path you chose when cloning your GitHub Pages repository
- Run the following command to have jekyll overwrite the existing files in the directory and create a new Jekyll site with all of the necessary files and folders
jekyll new . --force
 Note: The Process is shown with an example Hello World repository
Step 4: Adding your resume to your site
By creating our resume as a markdown file, we are following Andrew Etter’s key principle of using lightweight markup. This will make it extremely easy to host our resume as a static site using a static site generator like Jekyll. Creating your documents as markdown files also makes them very simple to edit and update as needed
There are two ways we can go about doing this
Option 1: Make your resume the homepage
- Delete the file named “index.markdown” in your sites root directory. The root directory should be called yourgithubusername.github.io
- Create a copy of your resume in the root directory of your site
- Add the following frontmatter to the very top of your resume markdown file
---
layout: "home"
---
- Change the filename of your resume to index.md
Option 2: Make your resume a separate page on your site
- Copy your Resume.md file into the root directory of your site
- Add the following frontmatter to the very top of your resume markdown file
---
layout: "page"
---
Step 5: Preview your site locally
- Open the VS Code terminal
- Make sure the file path displayed is the same file path you chose when cloning your GitHub Pages repository
- Run the following command to start a local server to host your site
bundle exec jekyll serve
- Go to http://localhost:4000 in the browser of your choice to see your site
Preview of Option 1
Preview of Option 2
Step 6: Customize your configuration file
- Open the _config.yml file in your sites root folder
- Update the relevant fields as follows
title: Whatever title you wish to give your site
email: youremail@example.com
description: >- # this means to ignore newlines until "baseurl:"
  Give a brief description of your site
baseurl: "" # the subpath of your site, e.g. /blog
url: "yourgithubusername" # the base hostname & protocol for your site, e.g. http://example.com

github_username:  yourgithubusername
To learn how to further customize your site or change your Jekyll theme, see the More Resources Section
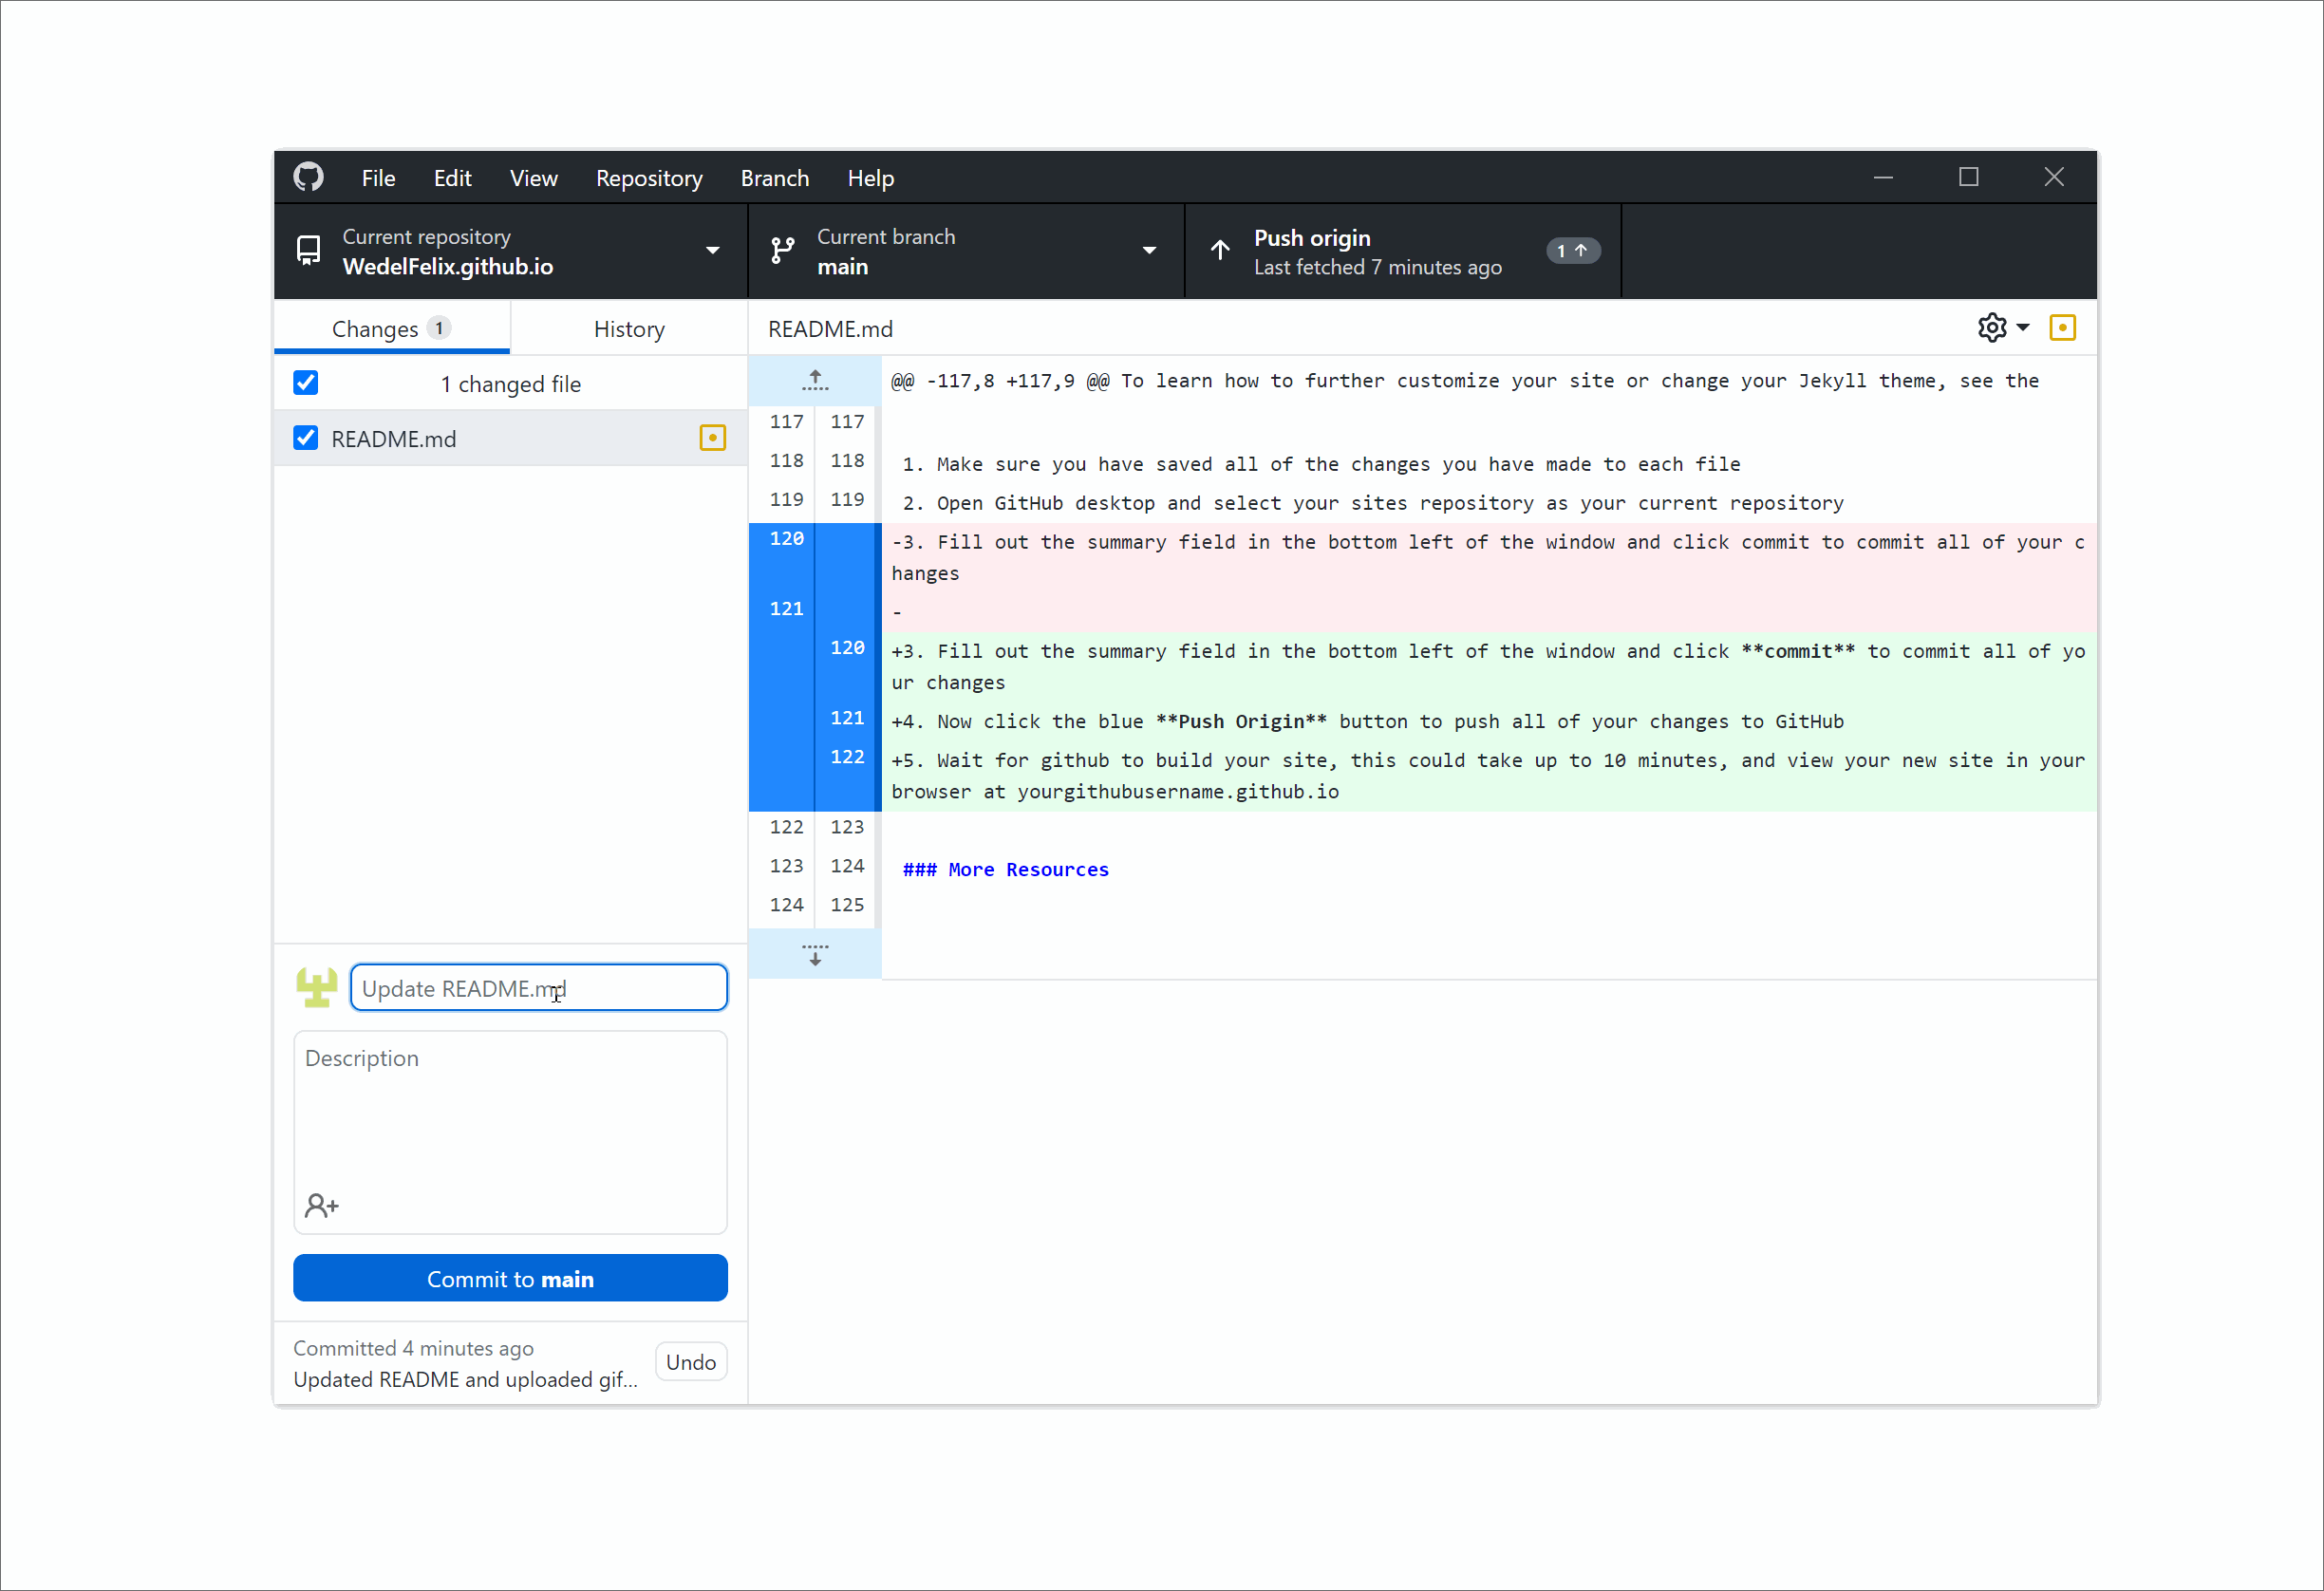
Step 7: Commit and Push your changes to GitHub
- Make sure you have saved all the changes you have made to each file
- Open GitHub desktop and select your sites repository as your current repository
- Fill out the summary field in the bottom left of the window
- Click commit to commit all your changes
- Click the blue Push Origin button to push all your changes to GitHub
- Wait for GitHub to build your site, this could take up to 10 minutes, and view your new site in your browser at yourgithubusername.github.io
More Resources
- Markdown Guide
- Andrew Etter’s book on modern technical writing
- Mike Dane’s Jekyll tutorial
- Editing markdown in Visual Studio Code
- Indeed’s Resume guide
- Jekyll’s themes documentation
- Minima theme documentation and customization
Authors and Acknowledgements
Revisions and Editing
Page Theme and Templates
Principles followed in this guide
FAQs
Question: Why is Markdown better than a word processor?
Answer: Markdown is better than using a word processor for several reasons, including that Markdown is:
- Easy and quick to learn and write
- Easier to publish the web quickly as a static site
- Easier to distribute since everyone can access the same static site instead of needing a copy of the document
- Widely compatible with static site generators
Question: Why is my resume not showing up?
Answer: There are a number of reasons that your resume might not be showing up. Make sure that:
- Your resume is located in the root directory of your GitHub pages repository
- An index.md file is present in your repository’s root directory
- Make sure the visibility of your site is set to public